By Liz Wilcox
RVing can take you to some beautiful locations and help you create wonderful memories. But not every part of RVing is pretty. Maintaining and emptying your septic system on a regular basis is an unglamorous — but necessary — part of any RV adventure. And without proper maintenance and care of this system, things can get pretty ugly.
Whether you’re a new RV owner or you plan to rent an RV on Campanda, it’s important to know how to care for your RV tanks properly. This handy guide will help you get started:
What does an RV septic system look like?
Recreational vehicles typically come with three tanks, located on the underside of the RV, to keep things running smoothly.
1. Fresh Water Tank
As the name suggests, this tank is for fresh water. This is the water that comes out of your taps.
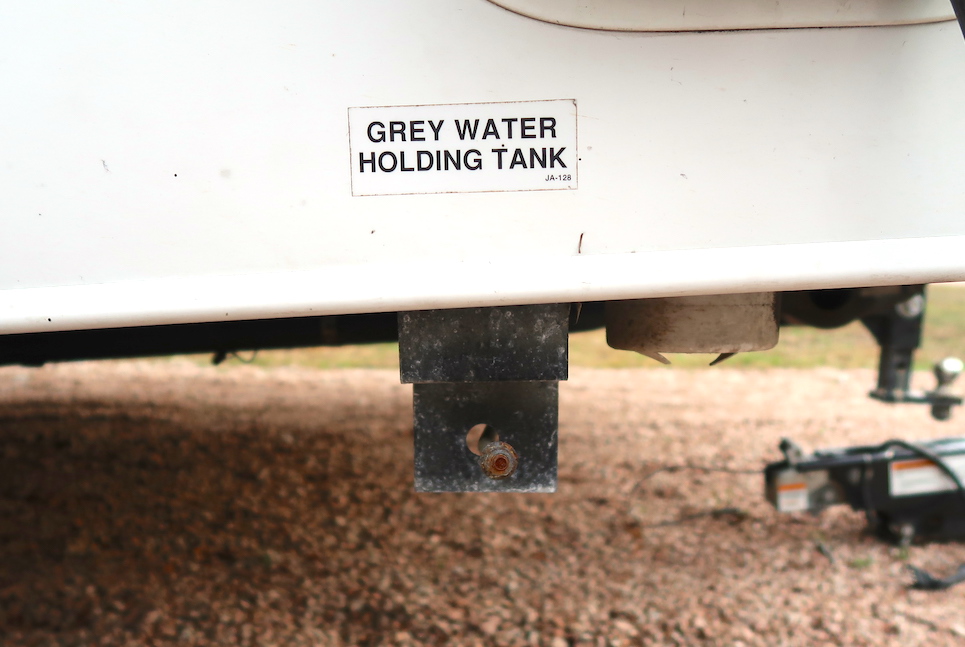
2. Grey Water Tank
The grey tank holds the dirty water from your RV shower and the kitchen sink. Some used campers and vintage RVs may not have this tank.
3. Black Water Tank
This is the one that tends to scare new RVers. The black tank holds waste water from the toilet. If your RV does not have a gray tank, all dirty water is dispensed into this tank.
When not maintained properly, any one of these tanks can cause problems.
How often should I empty my RV tanks?
How often you need to empty your tanks is relative. If you are traveling with a large number of people, you may need to empty your tanks every other day. If it is just you and your spouse, once a week may be enough.
A general rule of thumb is to wait until your tanks are about two-thirds full before emptying them. It creates a much better “flow” when dumping, making the process much more efficient.
Some recreational vehicles come with systems to show you exactly how full your tanks are. This is a great way to gauge when to dump, but be warned! After a few years, these sensors don’t always work well. Even new ones may give an incorrect reading because of paper or other waste sticking to the sensor making it read “full” when it’s not. It’s important to stay cognizant of how much water waste you are really accumulating.
How do I empty my RV tanks?
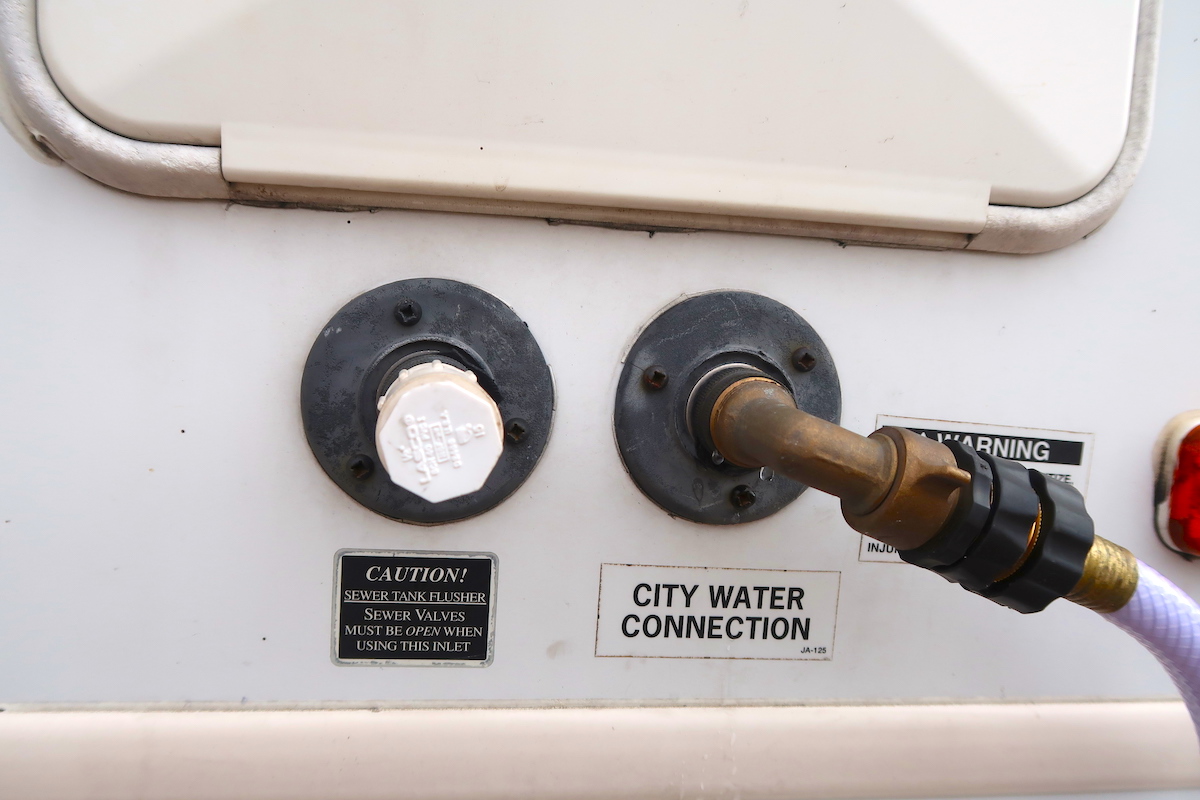
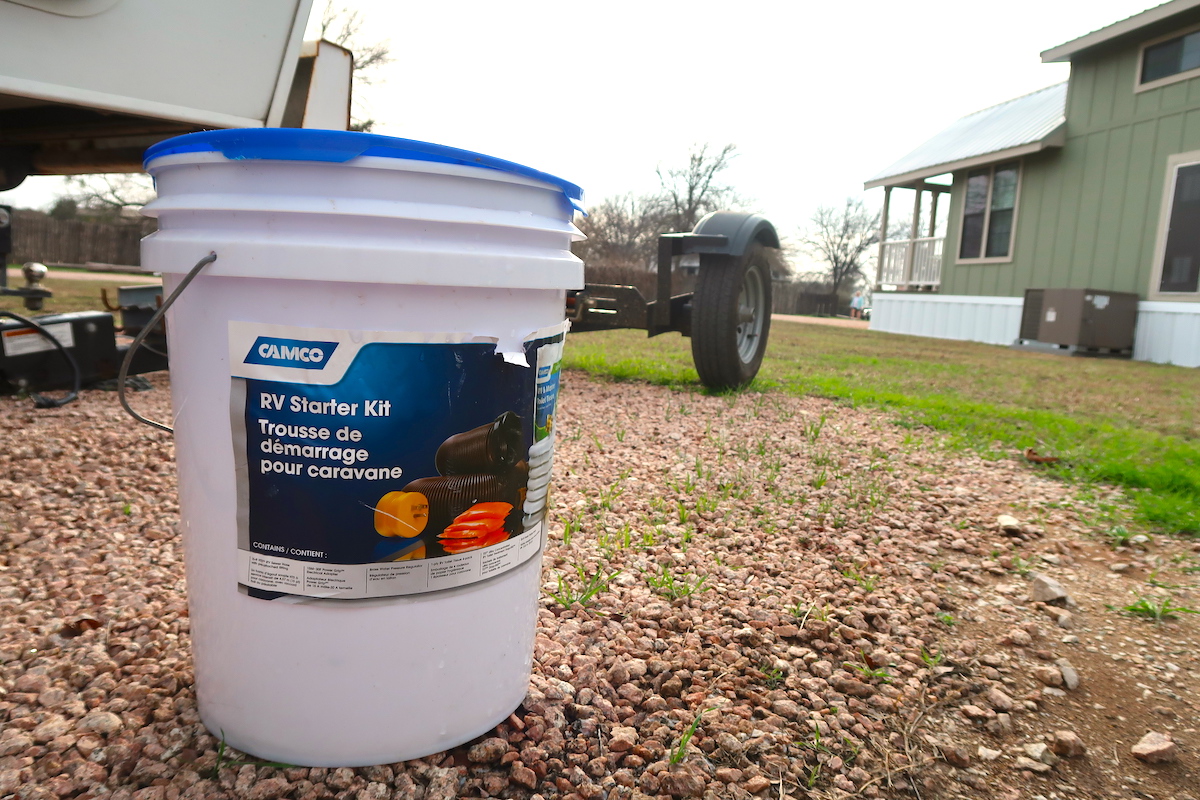
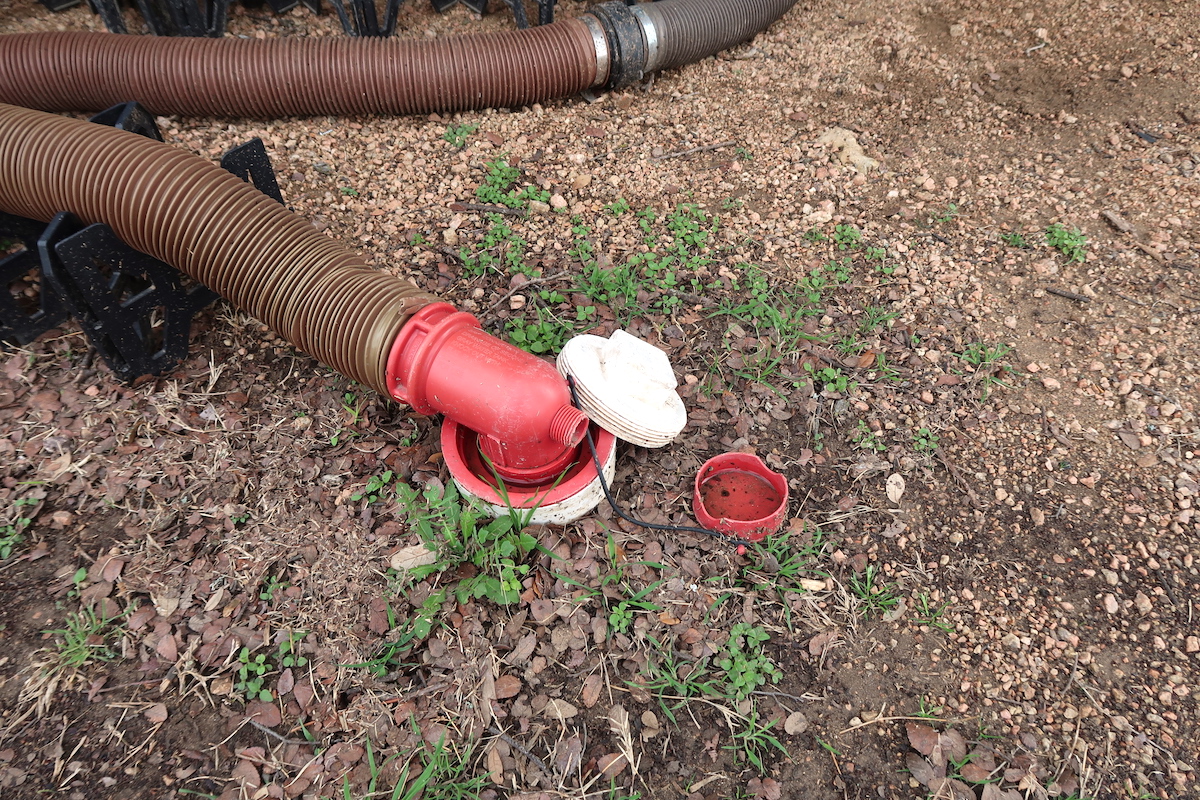
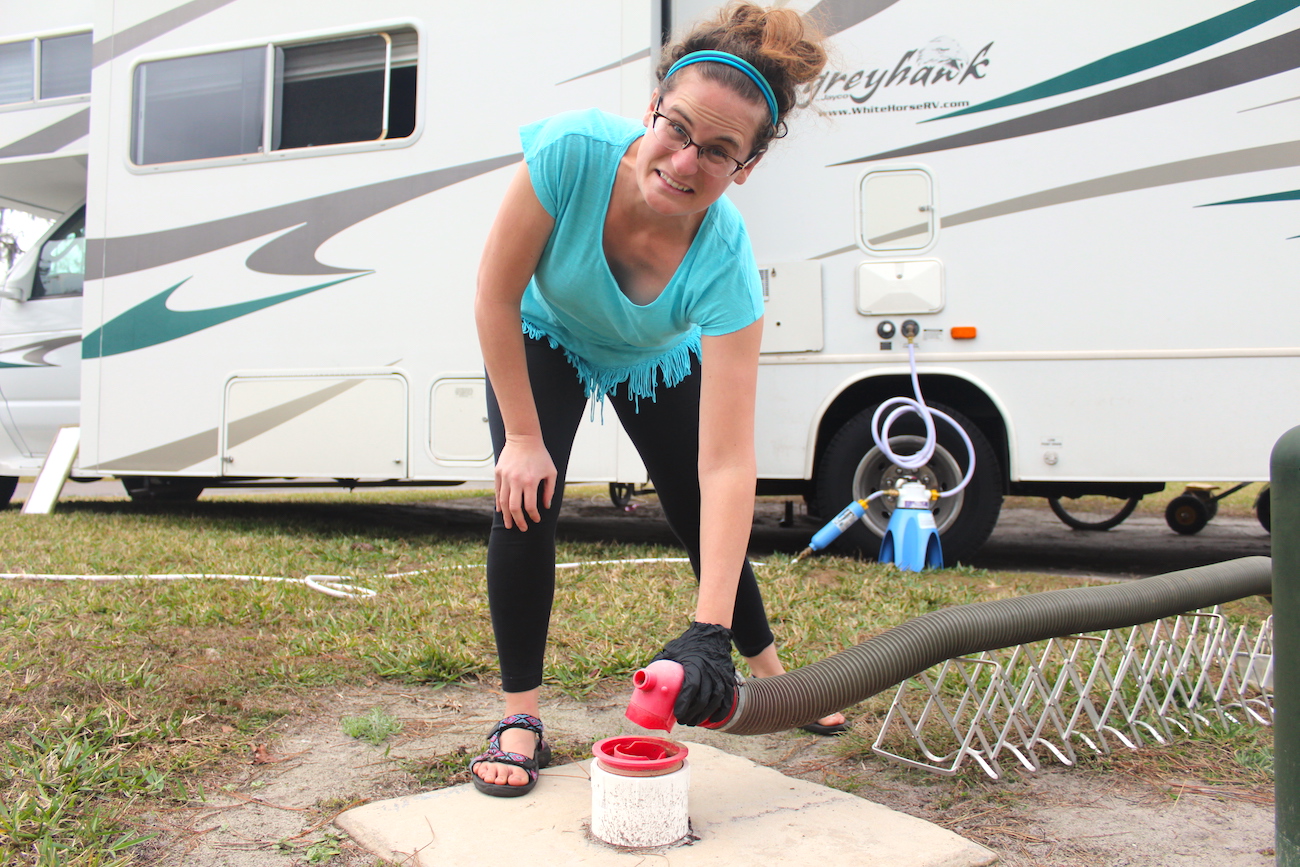
Before your first waste water dump, make sure you have a sewer hose and some gloves to protect your hands.
Next, be sure to identify the valves on the outside of your RV. These will be clearly marked “grey” and “black”.
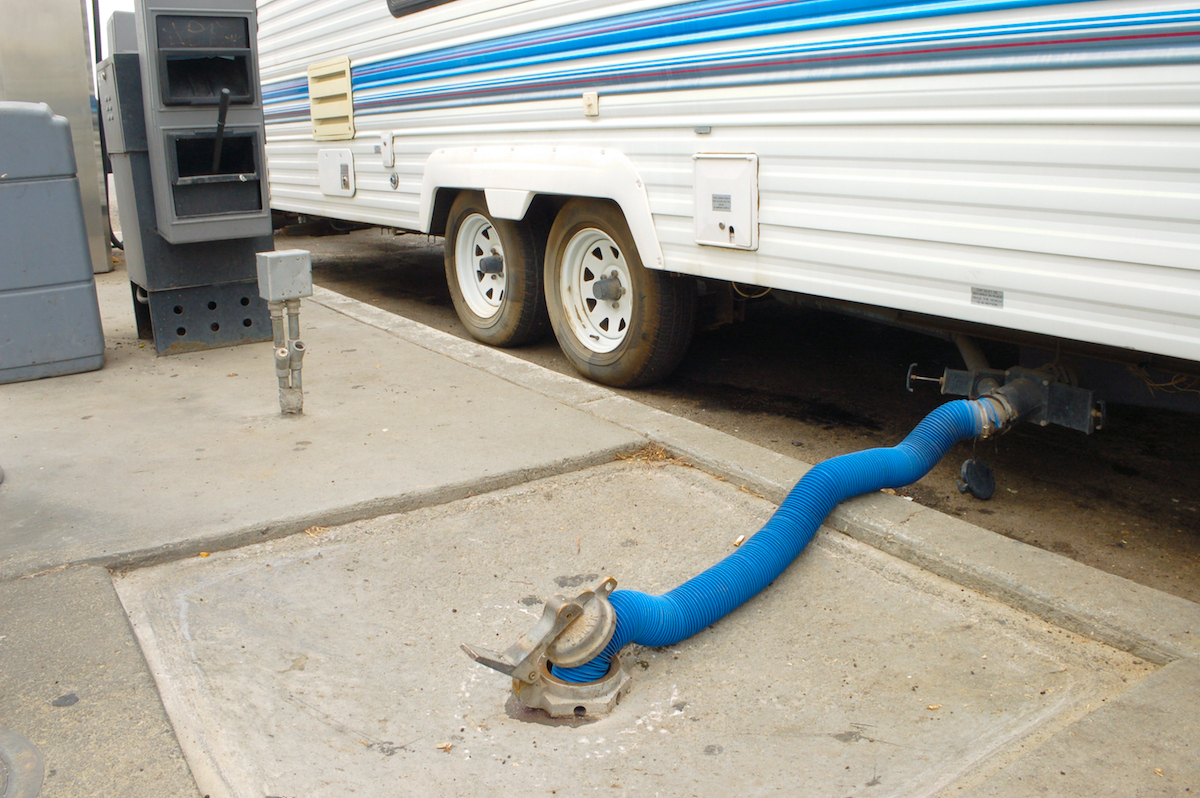
Hook your sewer hose up to the valve on the RV. Take the other end and secure it to the sewer you are using. Ensure it is fastened on both ends before pulling the valves!
Start with the black tank. Remember, the toilet waste water dumps directly into this tank. Never dump this water anywhere except designated dump stations. Dump stations are always clearly marked.
To empty, pull the valve and let the tank drain. Close the valve when you can no longer hear any liquid coming through the hose. Ensure the valve is closed completely. This is very important. Leaving a black tank valve open is an absolute no-no. It will cause all the liquid to flow out, leaving the solids no way of draining.
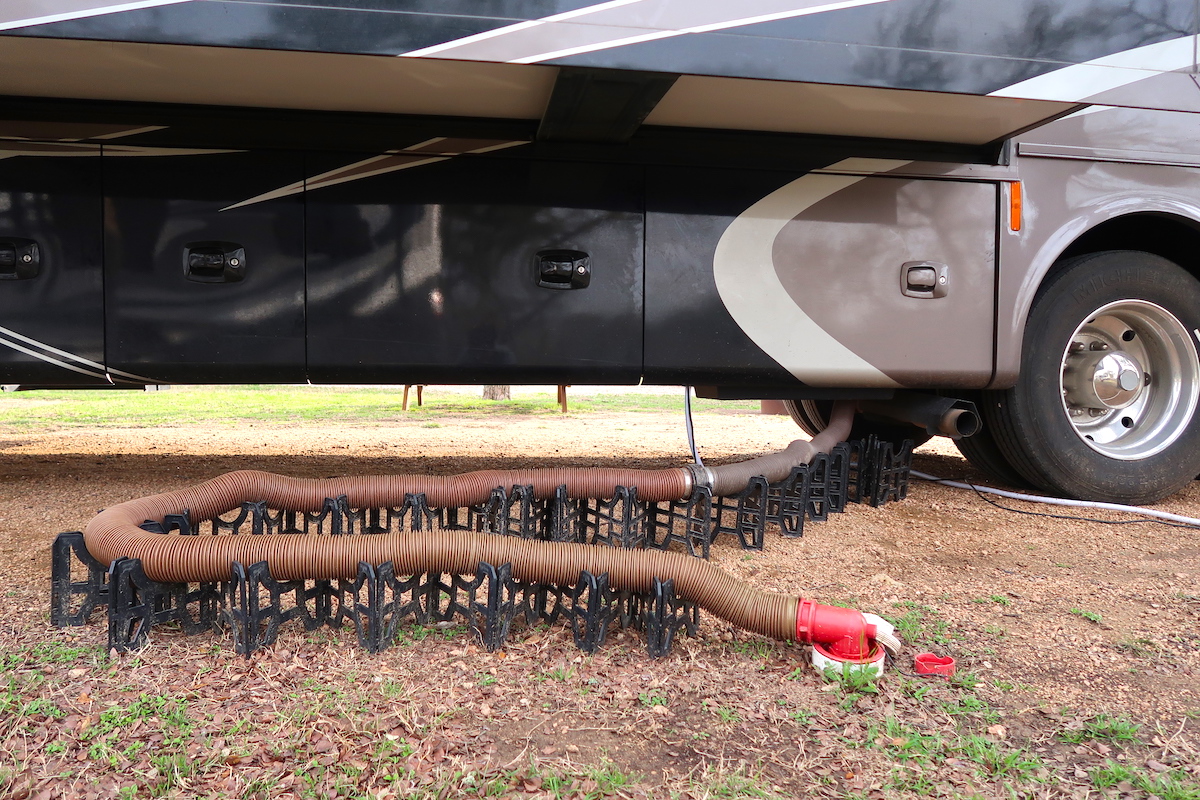
When you’ve ensured the valve is shut, pull the grey tank valve. Again, close when done.
Some people leave the gray tank valve open outside of the RV and let it drain continuously. This is a mistake. Flushing the gray tank after the black tank helps flush any solids stuck in your sewer hose. If you keep this valve open, you will not have that extra water to flush out the sewer hose after the black tank.
For easy clean up, go slowly when detaching the sewer hose. Many RVers use a bucket or tub to contain the hose when not in use.
How do I maintain my RV septic system?
Once you get the hang of emptying the tanks on your recreational vehicle, the process can go quickly and smoothly. But there’s more to using your tanks properly than emptying them — maintenance is just as important and will help prevent trouble down the line.
In general, regularly flushing along with cleaning and sanitizing your tanks will keep the system up and running fairly free of problems.
Other things to know about your RV holding tanks:
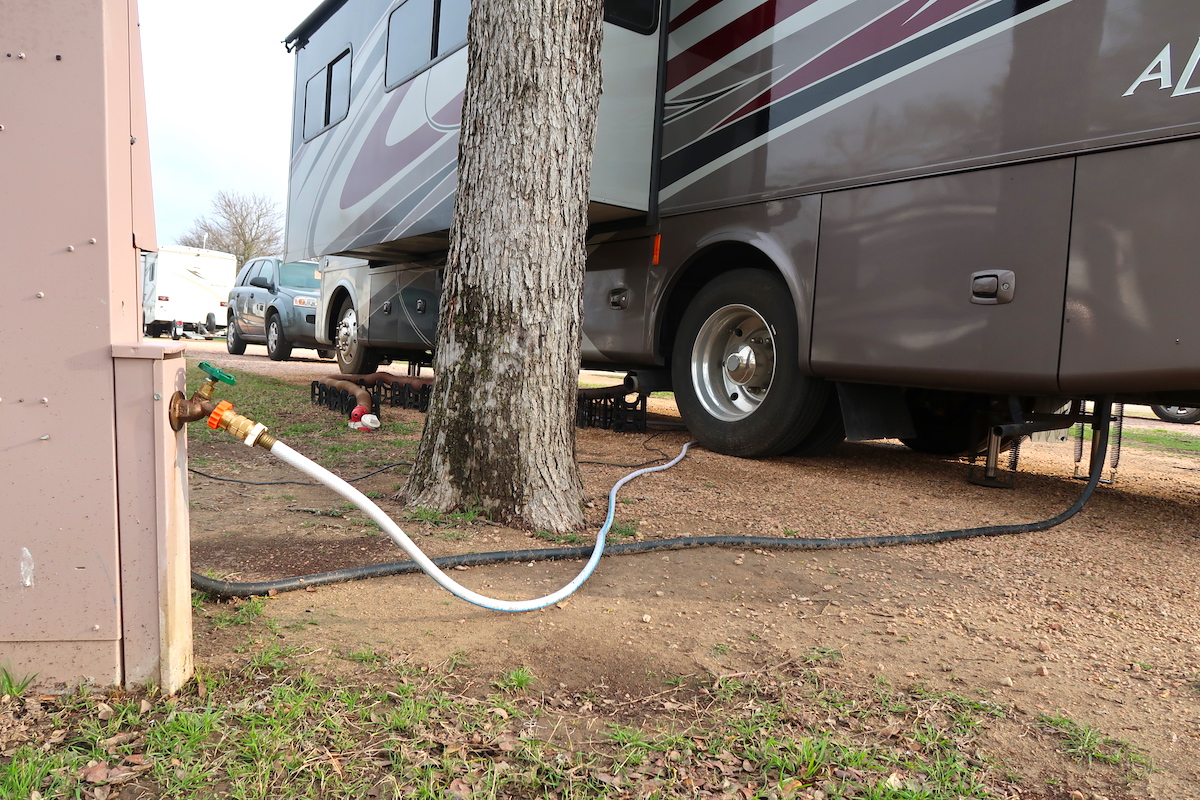
Fresh Water Tank
The least scary of the three tanks, the fresh water tank still needs maintenance from time to time.
When hooked up to water or filling the tank, use only a potable water hose. These are easy to spot because of their white color.
With this tank, it’s important to pay attention to the weather. Insulate your hose during freezing weather and drain your fresh water in extreme heat to prevent water stagnation.
If the tank begins to smell, it may be contaminated. Use household bleach to clean the tank.
- Pour ¼ cup of bleach for every 15 gallons of water in your tank.
- Run the water until you smell bleach.
- Continue to run until all the bleached water is out.
- Let your tank sit for 24 hours.
- Refill your tank and run the water until bleach smell is gone.
- Use as normal.
Gray Water Tank
Again, this is where runoff water from your sink or RV shower is held. In large travel trailers and fifth wheels, there may be two gray tanks.
It’s important to note that the drain into this tank is small. Take every precaution to ensure food particles do not go down the drain. Even something as small as a pea may cause a clog.
Black Water Tank
There are a few good rules of thumb for minimizing trouble with the dreaded black tank:
- Use single-ply toilet paper. Two-ply can clog the tank.
- Flush regularly, always adding water to the toilet bowl before flushing.
- Sanitize your tank after dumping. You can find special chemicals for this in the RV section of any big box store.
- Clean this tank often by putting a garden hose down the toilet. This should help flush your system and clear up any build ups.
Your #vanlife fantasies may not involve draining sewage, but this is a very real and essential part of RVing. When done properly, it should be a quick and painless process. Follow the guidelines above and after a few turns at the dump station, you’re going to be a pro at handling your RV septic system!
Totally grossed out by the idea of emptying your own RV tanks? Many RV owners on Campanda offer to dump your tanks on return for an extra fee. Browse Campanda’s selection of trailers, motorhomes and campers by clicking the link below:
Looking to share the joys of RVing — black water tank included — with other RV enthusiasts? Rent your RV on Campanda and turn your rig into a second stream on income!